Last updated November 17, 2026



Free written scope consultation - allowances, timeline, and change-order rules on paper before a single trade is scheduled
Driveway & Pavers Troubleshooting in Enterprise: Common Problems and How to Fix Them
If your pavers are sinking in the same spot every rainy season, replacing those pavers is exactly the wrong fix. The base beneath them has already failed, and new pavers laid on a compromised base will sink again within about 18 months. That’s the counterintuitive truth behind most driveway paver problems in Enterprise: the visible symptom homeowners call about is almost never the actual problem. Three installation shortcuts – under-compacted sub-base, missing geotextile separation, and a disrupted caliche layer – happen before a single paver goes down, and everything you see later traces back to one of them. In this guide we walk through how to tell surface issues from base failures, what efflorescence really means, why polymeric sand brands behave differently in Enterprise’s heat, and when a repair is honest versus when a full reinstall is the only real answer.
Quick Answer
Most driveway and paver problems in Enterprise fall into two buckets: surface-level issues like joint sand erosion, efflorescence and edge restraint failure, which are usually fixable in place, and base-level failures like sub-base compaction loss or a disrupted caliche layer, which show up as recurring sinking and require rebuilding the base, not just replacing pavers. Use a simple visual check and tap test to tell them apart before you spend money. If a paver has sunk in the same spot across more than one rainy season, the base is the problem and patching the surface will not hold.
Styles & brands we work with
- Kitchen remodeling
- Bathroom remodeling
- Home additions & ADU
- Roofing
- Windows & doors
- Driveway & pavers
- Fence
Table of Contents
- How do you tell surface problems from base failures?
- Why do pavers sink in the same spot every year in Enterprise?
- What is the white haze on pavers, and how do you remove it safely?
- One loose, rocking paver: isolated fix or systemic settling?
- Which polymeric sand holds up in Enterprise’s heat?
- How do you stop weeds and ants coming through the joints?
- Repair or full reinstall: where’s the honest line?
- Common mistakes to avoid
How do you tell surface problems from base failures?
You tell surface problems from base failures with two tests that take minutes and cost nothing: a visual survey of the paver field, and a tap test on individual pavers. Surface issues sit on top of a sound base and rarely repeat in the same location. Base failures run deeper, and the giveaway is recurrence – the same dip, the same wobble, the same rut every time water moves across the driveway.
Start with the visual check. Get low to the ground at the edge of the driveway and sight across the field. You’re looking for two things: pavers that have dropped below the plane of their neighbors (dishing or birdbathing), and joint lines that have opened wider than the rest of the field. Dishing that collects water in a defined bowl is a base symptom. A joint that’s opened uniformly along one edge is usually sand loss or edge restraint movement.
Then do the tap test. Walk the field and tap each paver methodically with a screwdriver handle or the rubber heel of a shoe. A paver that’s solidly bedded gives a dull, consistent thud. A paver that’s rocking or hollow gives a sharper ring or a hollow tone, and it may rock slightly underfoot. Note every hollow or rocking paver on a sketch. One or two in a field is noise. A cluster is a sign the bedding layer has washed out or the base has settled.
Here’s the practical distinction:
- Surface issue: joint sand missing, efflorescence haze, edge restraint popping, a single paver rocking in isolation. The base under the field is intact.
- Base failure: recurring sinking in the same spot, widespread rocking or hollow tapping, ruts along a tire path, lippage (one paver proud of the next), or water pooling anywhere in the field.
For base failures, the honest recommendation is to lift and rebuild, not to patch. That’s the kind of scope that belongs in a proper driveway & pavers assessment before you spend anything on repairs. When our technicians have up to 10 years of experience and see recurring dishing across an Enterprise driveway, the question they ask first is how the base was built, not how the pavers look.
Why do pavers sink in the same spot every year in Enterprise?
Pavers sink in the same spot every year because the sub-base under that area has lost compaction and is no longer shedding water. New pavers laid into that dip will look flat for a season and then follow the base down again within about 18 months. The sinking isn’t a paver problem at all; it’s a water problem.
Enterprise sits in a basin where the soil holds a lot of caliche – a cemented, calcium-rich layer that forms under the soil surface across much of the valley. Caliche can be hard as concrete in dry weather and behave very differently once it’s saturated. When a driveway is built, the base prep has to either cut through or correctly cap that caliche layer so water can drain predictably. Skip that step, or compact the sub-base in a hurry, and you get a spot that holds water like a shallow bowl.
The sequence is almost always the same:
- Water moves to the low spot in the base because the grading is slightly off.
- The sub-base saturates during heavy rain and loses its compaction.
- The sand bedding layer beneath the pavers washes into voids or migrates.
- The pavers drop into the resulting bowl, and the joint sand drains out of them.
- The bowl holds more water next season, and the whole cycle repeats.
Replacing the pavers on top of that cycle fixes nothing; you’re stacking new stone on a base that will fail again. The correction is to lift the affected field, re-establish the sub-base grade, re-compact in lifts, and re-lay with a fresh bedding layer and a proper edge restraint. If a contractor tells you the fix is new pavers on top, ask what they’re doing to the base. The answer tells you whether the repair will hold.
It’s also worth understanding how base prep affects everything else you’re going to build alongside it. A driveway that sheds water correctly also protects the property line where you’ve had fence installation done, and a failing sub-base can undermine the low spots around a patio or walkway. Fixing drainage at the driveway base often solves problems in more than one corner of the yard.
What is the white haze on pavers, and how do you remove it safely?
Efflorescence is the white, powdery bloom on paver surfaces, and it’s almost always cosmetic, not structural – a warning that water is moving through the pavers or the base, not a sign the pavers are failing. The key is cleaning it correctly so you remove the salt bloom without etching the paver surface.
Efflorescence is salt migrating to the surface as water evaporates out of the concrete pavers. It always follows water. That means the bloom itself is harmless, but it’s pointing at something: a wet base, poor slope, or a joint sand that’s allowing too much water penetration. If the bloom keeps coming back in the same place, the water source is the real issue, not the white film.
Here’s the cleaning protocol we recommend to remove it safely:
- Start with a dry brush – a stiff nylon or horsehair paver broom. Brush the bloom off first. A lot of efflorescence comes off with no water at all.
- Try plain water and a soft-bristle brush next. Rinse and let the driveway dry fully for a couple of days before judging the result.
- If it’s still there, use a product made specifically for efflorescence on pavers. Follow the label dilution exactly. Do not mix your own acid ratio.
- Never use muriatic acid at full strength on pavers. It attacks the paver surface and the joint sand and can permanently etch the finish.
- Keep the driveway bone dry for at least 24 hours after any cleaning, so the salt either dissolves off or stops re-blooming.
- Lay in an effective joint sand once the bloom has gone if it keeps returning; that’s the real long-term fix.
If the bloom comes back within a month, that’s your signal to look at water management. We’d rather check the base and slope than sell you a drum of cleaner. Once the water is controlled, efflorescence usually stops.
One loose, rocking paver: isolated fix or systemic settling?
One rocking paver is usually an isolated fix, unless it sits among several hollow pavers or sits near a low point in the field – then it’s the first visible sign of systemic settling. The tap test and the count of hollow pavers around it tell you which.
A single rocking paver tends to have one of three causes: bedding sand that washed out under just that paver, a paver that was set slightly proud during installation and never fully bedded, or a joint that opened and let water in under that stone. In each case, the fix is local. You lift the paver, clean out the joint sand, add a small amount of fresh bedding sand, re-set it, and re-sand the joint around it. That’s a half-day job at most.
Systemic settling looks different:
- The rocking paver is one of three or more hollow pavers within a few feet of it.
- It’s near the low point where water collects during a storm.
- The joints around it are noticeably wider than the rest of the field, or the sand is gone from those joints entirely.
- You can feel a slight dip if you sight across the driveway.
- It’s the second or third time that paver has gone loose.
If any two of those are true, an isolated fix will buy you a season, not a repair. Every re-set is another small stab at the problem, and the base underneath it keeps getting worse. If you’re seeing hollow pavers spread across several feet of driveway, that’s the point where we walk the field with you and talk about a base rebuild instead of a patch. Repairing three pavers individually and then redoing the whole field two years later costs more than redoing the field once.
Which polymeric sand holds up in Enterprise’s heat?
The joint sands that hold up in Enterprise’s summer heat are stabilized polymeric sands rated for high-temperature exposure. The ones that fail are the standard “easy-set” sands that re-emulsify above 110°F, come back to powder, and blow or wash out of the joints. The spec sheet matters more than the label.
Polymeric sand works by activating a polymer binder in the joint when the sand is wetted. If the binder is not rated for sustained high surface temperatures, it softens during a hot Enterprise afternoon, loses its set, and crumbles back into loose sand. That’s why you see a driveway that looks perfect in spring and has blown-out joints by August.
When you’re evaluating a polymeric sand, check these in order:
- Heat rating: the product should state it’s rated for high-temperature exposure, and should not list re-emulsification above typical summer surface temps. Ask for the measured spec, not the marketing line.
- Application thickness: joints should be filled to the specified depth. Too little sand in the joint is the number one reason polymeric sand fails in any climate.
- Compaction: the sand has to be compacted into the joint with a plate compactor before wetting. Skipping this is a shortcut that shows up as early joint erosion.
- Water dosing: over-wetting dissolves the binder and washes it out. Under-wetting leaves it crumbly. Follow the label.
- Slope and drainage: no sand brand survives standing water. If the base doesn’t shed water, no joint sand will last.
We specify from a working roster of pavers and hardscape brands including Belgard, Unilock, Techo-Bloc and Cambridge Pavers, and we pair the joint sand to the paver finish and the heat exposure. A coarse, textured paver finish is more forgiving than a smooth one; both need the right sand under them. If your builder is quoting “polymeric sand” without naming the product, ask for the spec sheet. That single question will save you a re-sand in two seasons.
How do you stop weeds and ants coming through the joints?
You stop weeds and ants coming through the joints by getting three things right at once: the joint must be filled to depth, the sand must be a stabilized polymeric product rated for heat, and the base must have a proper geotextile separation layer so vegetation and insects can’t come from below. Fill the sand alone and you’ll be pulling weeds again by next spring.
Most people think weeds come from seeds landing on top of the driveway. They don’t – at least not mostly. Weeds come up from the soil underneath, through gaps in the joint sand. Ants follow the same routes. In Enterprise, the drying cycle between rains makes the joints a good place for both to move in. The fix is to close the route from below and seal the route from above.
Here’s how it works in a properly built driveway:
- Geotextile separation layer: a non-woven fabric between the sub-base and the bedding sand blocks vegetation and cuts off the soil contact that roots and ant trails need.
- Depth of joint sand: the sand should be compacted to within about an eighth of an inch of the paver surface. Under-filled joints give weeds a gap to open.
- Stabilized polymeric sand: the right heat-rated product binds the joint and locks out seed and small insects. The wrong product turns to powder and gives it right back.
- Edge restraint: a properly anchored edge keeps the field from spreading, which keeps joints tight and stops the edges from opening up to weeds.
If you have an existing driveway with weed intrusion, the realistic repair is to pressure-blow or scrape out the joints, refill with a heat-rated polymeric sand, and re-compact. If the weeds keep coming back within a season, the separation layer is missing or compromised and the base needs to come up. That’s not a cosmetic job. For homeowners planning a full re-lay, it’s the same base-rebuild conversation as the sinking-paver problem.
Repair or full reinstall: where’s the honest line?
The honest line between repair and full reinstall is whether the base is sound. If the base is intact and the issue is joint sand, efflorescence, edge restraint, or a single isolated paver, a repair is the right call. If the base has failed, repairing the surface is spending money against a problem that will come back, and a full reinstall with corrected base prep is the only fix that holds.
Here’s how to think about it by problem type. Use these rough thresholds as decision guides, not final quotes – every driveway is priced per job by a written estimate after we walk the site.
| Problem | Typical fix | Relative cost |
|---|---|---|
| Joint sand eroded across the field | Pressure-blow joints, refill with heat-rated polymeric sand, re-compact | Lowest |
| Efflorescence bloom | Dry brush, then targeted efflorescence cleaner, dry-out | Lowest |
| Edge restraint popping or separating | Re-anchor or replace edge restraint along that run | Low |
| One or two isolated rocking pavers | Lift, re-bed, re-sand local joints | Low |
| Cluster of hollow pavers, recurring dishing, ruts | Lift field, rebuild sub-base, re-lay with new bedding and edge restraint | High |
| Broad field failure or multiple problem zones | Full driveway reinstall with corrected base prep | Highest |
Rule of thumb for the call: if you’re looking at a single local fix, do it. If you’re looking at two or more problem zones that share the same low spot or the same failing base, or if you’ve already re-set the same pavers once, a targeted full rebuild of that area is the more honest recommendation. If the failure runs across most of the field, a full reinstall is the answer.
Cost also has to factor in what’s adjacent. A paver driveway ties into a walkway, a patio, sometimes the foundation line of a home additions & ADU project. If you’re redoing the driveway in the same season as other work on the property, doing the base prep once and coordinating the trades is a real saving. We plan paver work as part of full-property projects all the time.
Common Mistakes to Avoid
- Replacing pavers over a failed base. New pavers on top of an under-compacted sub-base will follow the base down within about 18 months. Fix the base, not the pavers.
- Using muriatic acid on efflorescence. Full-strength acid etches paver surfaces and eats joint sand. Use a paver-specific cleaner at label dilution.
- Filling joints with builder’s sand. Standard sand washes out and never holds. Use a heat-rated polymeric sand compacted into the joint.
- Skipping the tap test. Replacing one visible rocking paver without checking the surrounding field often hides a larger settling issue that will show up again next season.
- Ignoring the low spot in the field. Any spot where water ponds in Enterprise is a failing base symptom, not a cosmetic flaw. Re-grading is part of the repair.
- Not asking for the polymeric sand spec. A brand name on a quote is not a heat rating. Ask for the product’s temperature rating in writing, especially in Enterprise’s summer heat.
- Undersized or unanchored edge restraint. A failed edge lets the field spread, joints open, and weeds and ants move in. Edge restraint is a structural part of the driveway, not trim.
When to Call a Professional
Call a professional when pavers have sunk in the same spot more than once, when a tap test turns up several hollow pavers together, when water pools in the field during rain, or when a weed problem keeps returning after a re-sand. These are base symptoms, and no surface fix will hold. A single rocking paver and a light efflorescence bloom are things you can manage yourself with the cleaning protocol above. Beyond that, a proper diagnostic – walking the site, tapping the field, checking the base and slope – is the step that saves you money. Enterprise Construction Co offers free estimates in Enterprise – call (844) 761-9449. We answer 24/7. Fast dispatch from 7am to 7pm, Sunday through Friday. Our rough estimates come with a written line-item quote that sets the final price, so you know exactly what’s in scope before any pavers get lifted.
See the difference
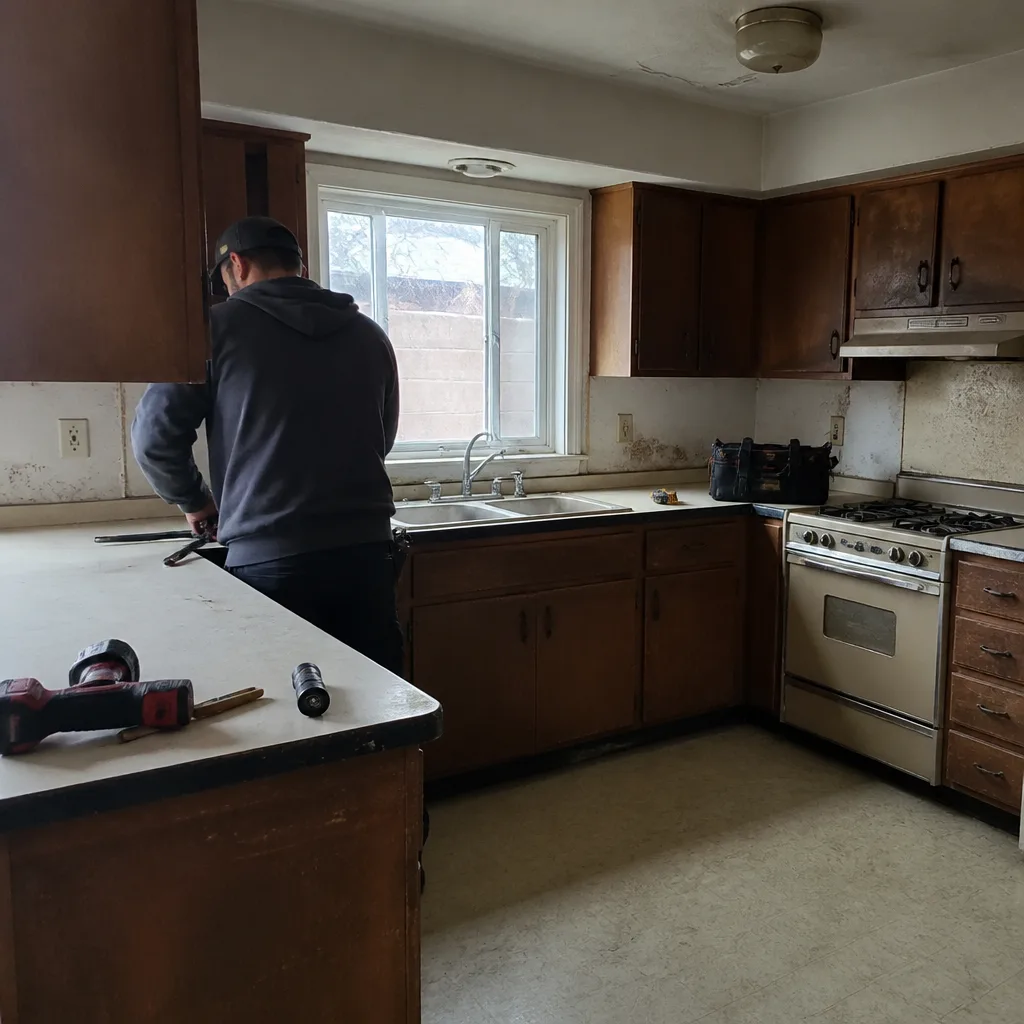 Before
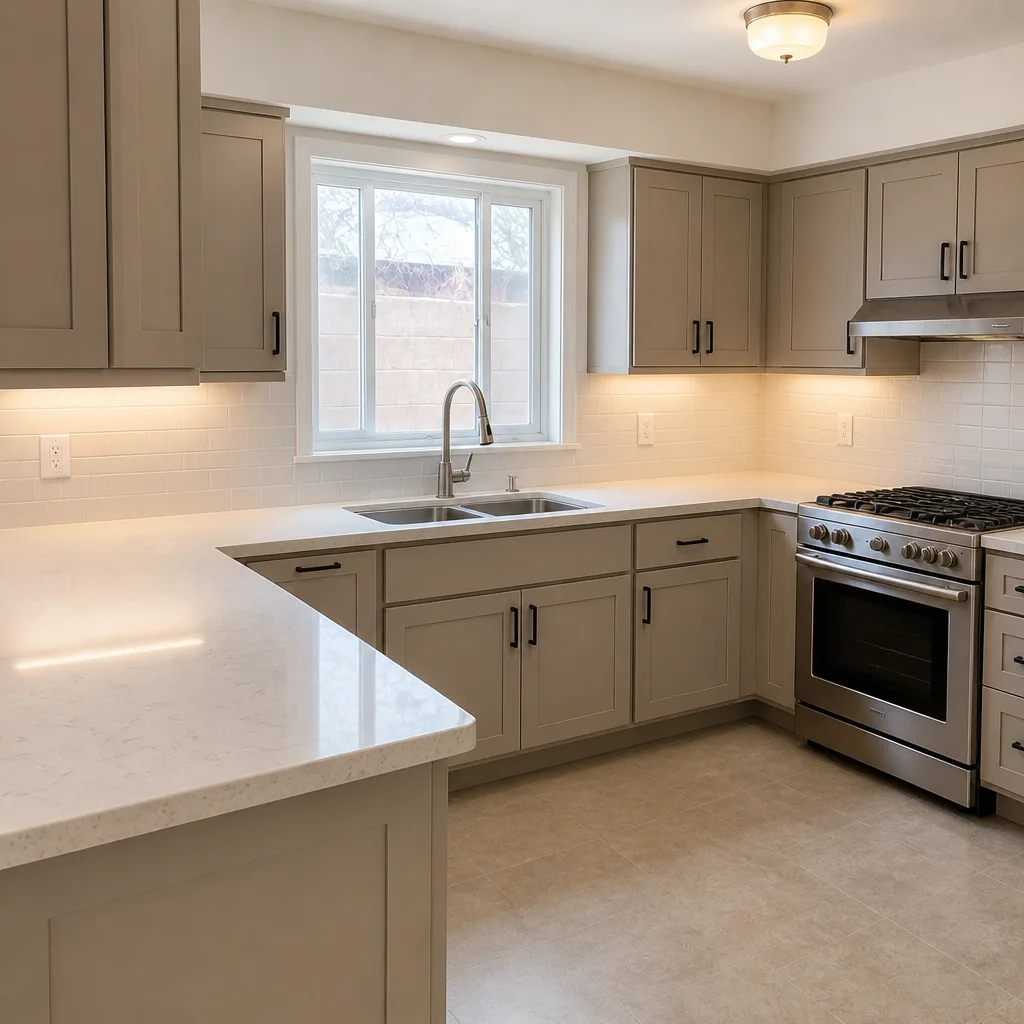 After
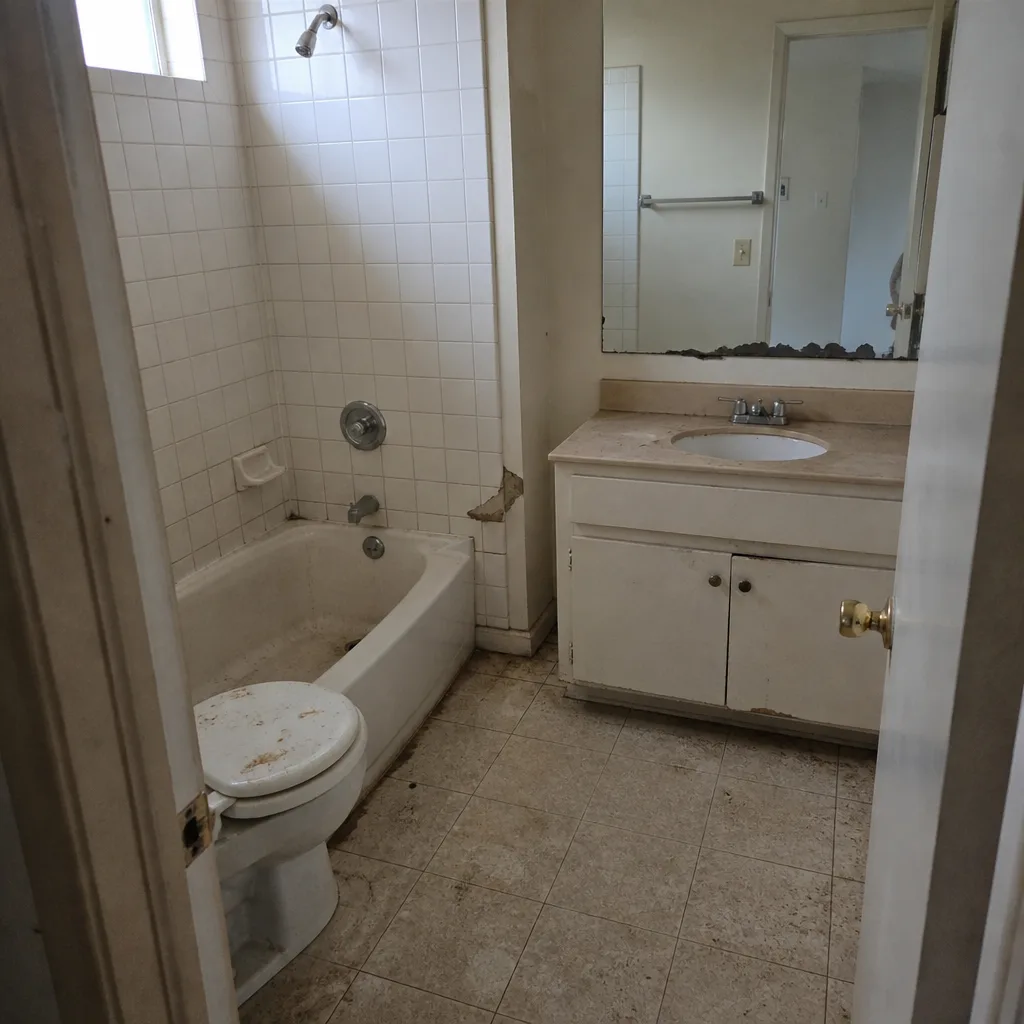 Before
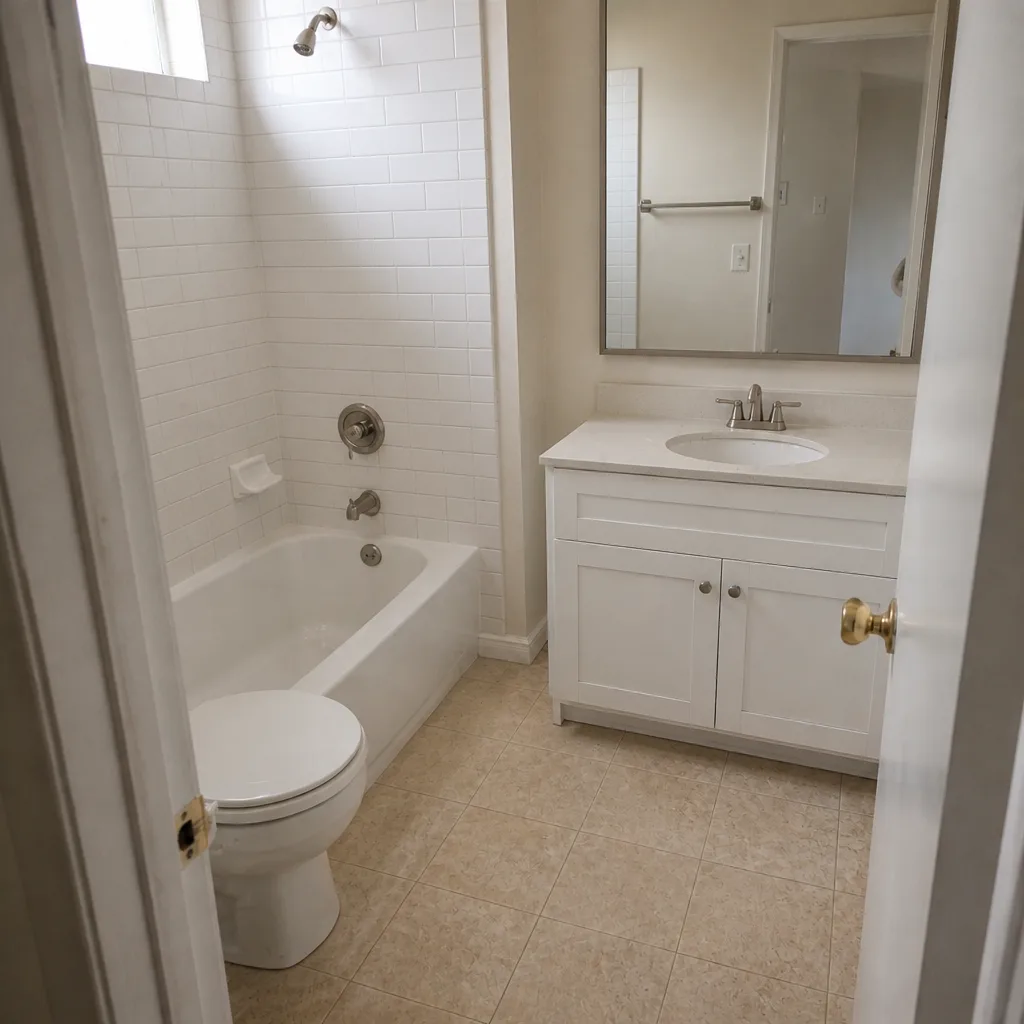 After
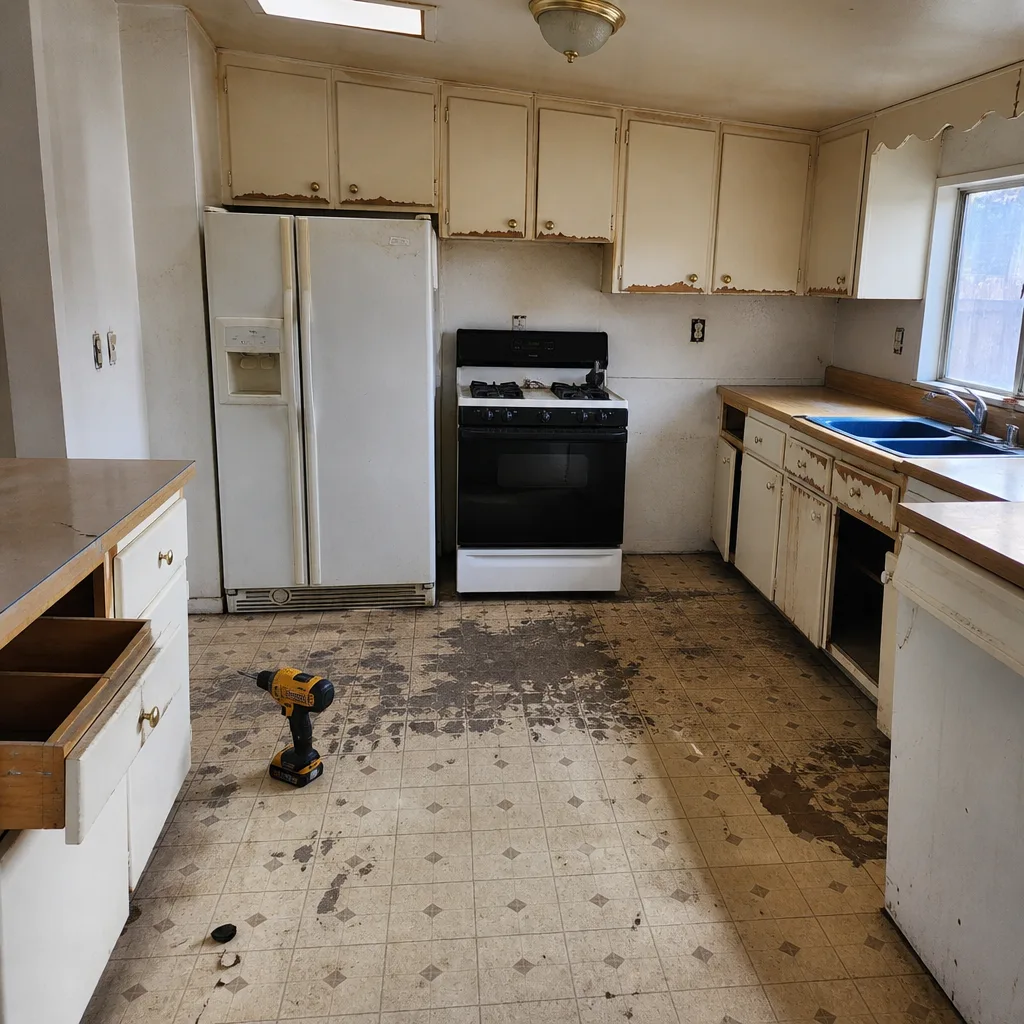 Before
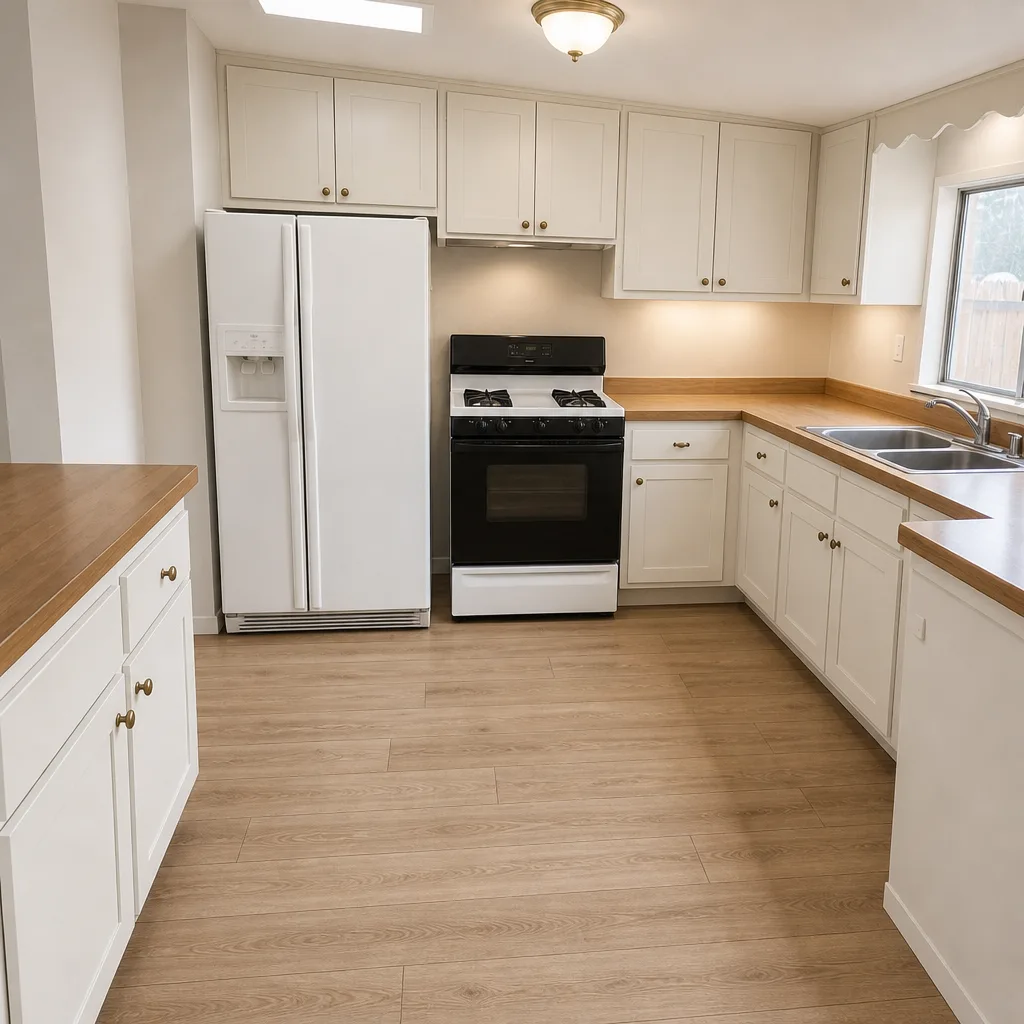 After
Frequently Asked Questions
The base under that spot has lost compaction and is no longer draining, so water collects in a shallow bowl and the pavers follow it down. Replacing the pavers will not fix it because the failure is in the base. The correct repair is to lift the field, rebuild and re-grade the sub-base, and re-lay on a fresh bedding layer. Call (844) 761-9449 for a free estimate on the diagnostic and repair.
No, white haze on pavers is almost always cosmetic efflorescence – salt migrating to the surface as water evaporates – and it can usually be removed with dry brushing followed by a paver-specific cleaner at label dilution. If the bloom keeps returning in the same place, it points to a water source like poor slope or a wet base that should be checked. Call (844) 761-9449 for a free estimate if the bloom keeps coming back.
Heat-rated stabilized polymeric sand that does not re-emulsify above 110°F holds up; standard easy-set sands turn back to powder and blow out of the joints. The brand matters less than the spec, and application depth, compaction and water dosing matter as much as the product. Ask for the product spec sheet before agreeing to a sand. Call (844) 761-9449 for a free estimate on re-sanding and joint repair.
Yes, an isolated rocking paver can usually be lifted, re-bedded, and re-sanded locally without touching the rest of the field, as long as the pavers around it tap solidly. If several hollow pavers cluster together or the field dips near that spot, it’s an early sign of systemic settling and a local fix is a short-term band-aid. Call (844) 761-9449 for a free estimate and we’ll tap the field with you and give you a straight answer.
Weeds and ants come up from the soil beneath the joints, so you stop them by installing a geotextile separation layer under the bedding sand and refilling the joints with a heat-rated polymeric sand compacted to depth. Filling the joints alone fixes the symptoms for a season at most. Call (844) 761-9449 for a free estimate if you’re planning a re-lay.
No, the written line-item estimate sets the final price for the work scoped, and any change is only made on a written change order you agree to. We quote per job after walking the site, so the estimate reflects what we actually see on your driveway, not a phone description. Call (844) 761-9449 for a free estimate. We answer 24/7. Fast dispatch from 7am to 7pm, Sunday through Friday.
The Bottom Line
Most paver problems in Enterprise start in the base, not the pavers. Surface issues like efflorescence, joint sand erosion and edge restraint failure are real but fixable in place with the right heat-rated materials. Sinking pavers that come back in the same spot, clusters of hollow pavers under a tap test, or water pooling in the field are base failures, and no surface repair will hold them. The right move is to diagnose before you spend: tap the field, check the slope, and look for recurrence. When the base needs correcting, a targeted rebuild is the honest repair and a full reinstall with proper base prep is the durable one.
Contact
If you’re in Enterprise and your driveway keeps telling you the same story every rainy season, let us walk it with you. Enterprise Construction Co handles driveway & pavers as one of seven service lines covering the whole property, including Enterprise Construction Co work from the curb to the kitchen, fence installation, and home additions & ADU projects. We specify hardscape materials from partners including Belgard, Unilock, Tremron, Techo-Bloc and Cambridge Pavers, and we pair them with the joint sand and base detail the Enterprise climate actually needs. Every estimate is free and every price is set per job by a written line-item quote. Call (844) 761-9449 for a free estimate. We answer 24/7. Fast dispatch from 7am to 7pm, Sunday through Friday.
Written by the team at Enterprise Construction Co.